In the previous article, we looked at three particle attributes:
- ID
- Position
- Velocity
In this one, I will introduce three more!
First up:
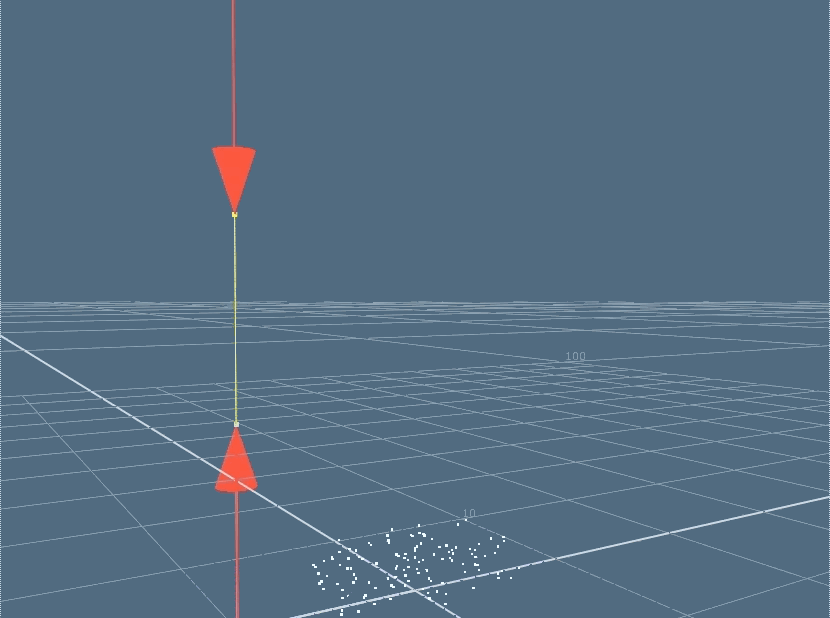
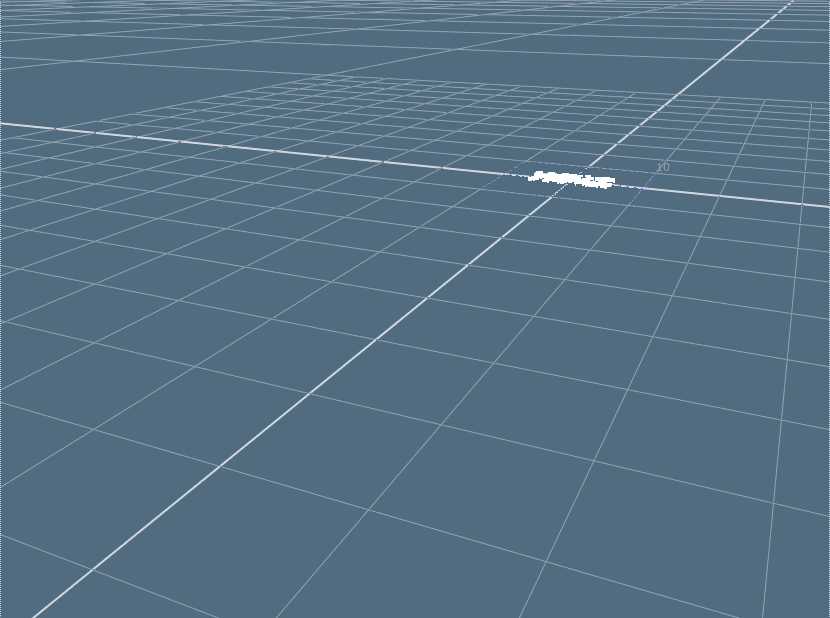
Size
Pretty self explanatory, this attribute controls the size of particles.
Here, the size of the particles are increased as they enter a target area and return back to their original size following their exit.
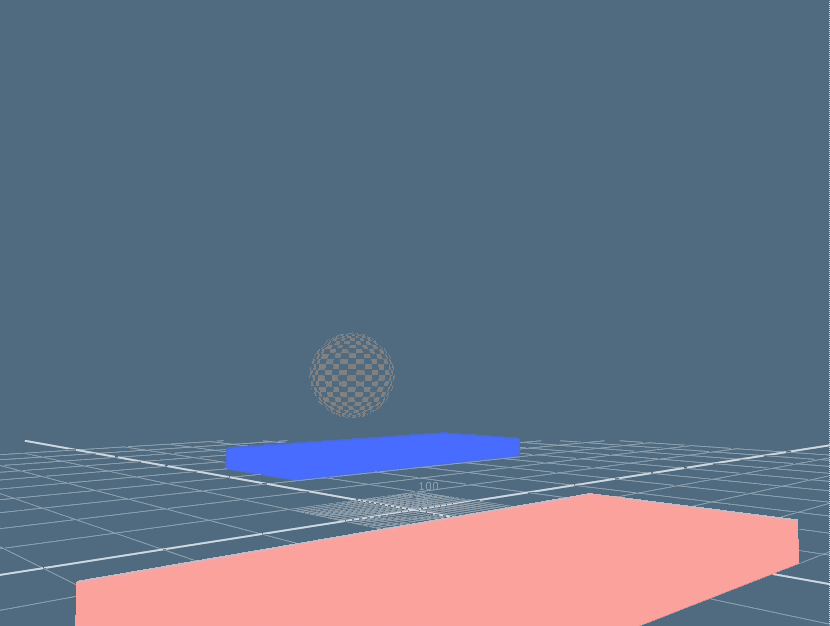
Mass
This attribute controls the resistance the particles have to forces. The greater the mass, the greater the resistance.
For example:
We have two boxes of the same size.
Box A is empty.
Box B is filled with books.
If the force of “n” were applied to both boxes, Box A would travel further than Box B.
This is because Box B has more inertia than Box A, making it more resistant to force “n“.
Or …
Box B has more mass than Box A.
Below, the faster particles have lesser mass than the slower ones, causing them to move faster.
The attributes you’ve been shown until now are what we use to control the “motion” of the particles. We will dive deeper into this topic in many future articles.
Next, we’ll look at one of the main drivers of the “look” of the particles.
Color
Deceptively simple, the color attribute is what we use to drive a lot of the final appearance of our particles. Aside from the beauty render, we can also harness it for rendering out utility passes for even more fine control in compositing.
In this example, we can see how the color of the particles change as their velocities change.

This is a simple example of an utility pass we can output from our particle sim.
Another way to control the look of the particle is through attaching textures through sprites or geometry.
In the next example, I used sprites to create a simple smoke stack simulation.
And here’s the render of the smoke stack from above! Looks pretty cool!
There we have it, you now know of three more attributes to control particles more precisely!
In the next article, we’ll look at the last two remaining attributes that when paired together, will give us the final boost to COMPLETE CONTROL!